The Heart of a King
Creative Process
Author, Curtis Sikes’ Point of View
Inspiration
I was actually writing an adolescent novel before I became author of The Heart of a King. I realized that the novel was going to take a while, so I decided to try and write something shorter, a children’s book. The true inspiration came when a young boy in one of my classes was talking about a lion finding his courage. It seemed interesting to me, and thus sparked the tale, The Heart of a King.
Writing
I spent a several weeks writing and typing out the initial story. It began with the idea of a lion named Leo, who felt small and insecure. I wanted the story to have the theme of courage and love, so I added his father, King Lionel. And every good story needs a conflict. That’s why I created Viper. Who better to play him than a snake? The story really flowed well and was fun to write. The characters began to develop and come alive as the story went on. I included many themes in the story, such as, identity-finding out who you are, fatherhood, love, forgiveness and good versus evil.
More Planning
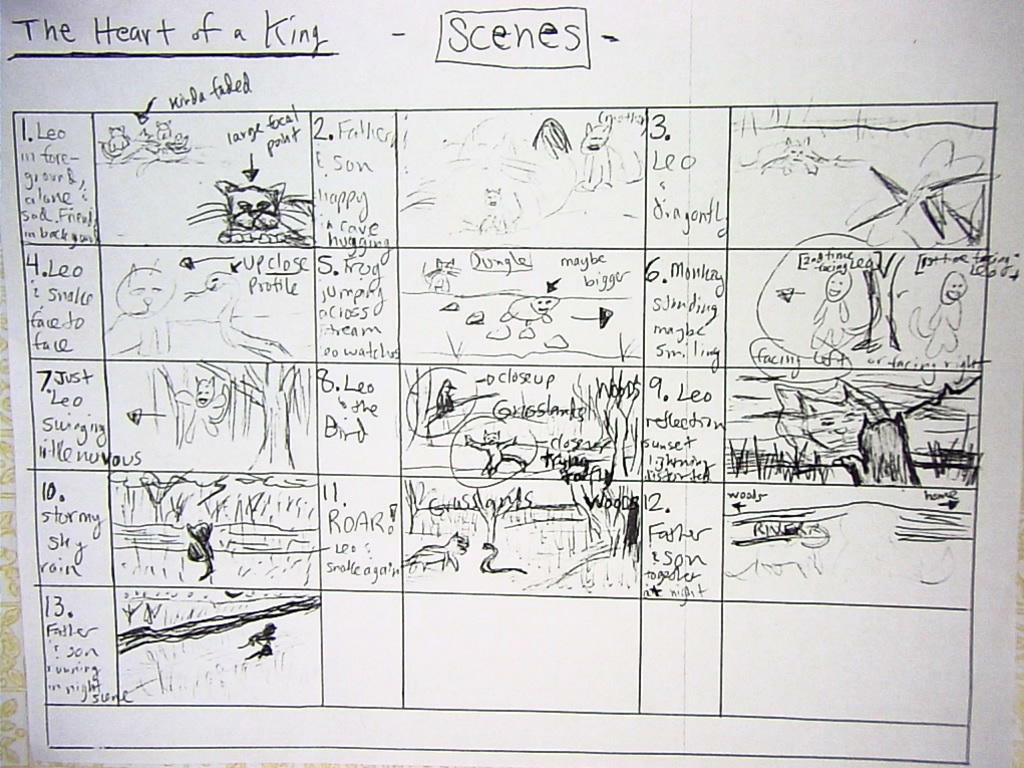
When I completed the first draft, I felt real good about it and thought, “The Heart of a King might actually have the chance to become a real book.” Now that I had a script to work with, the next step was to get an illustrator. I asked my good friend Sheena because I knew she had the talent and discipline to make my words come alive through paint. We met and collaborated, researching African animals, and talking about the different positions of the animals in each scene. It was like we were making a set for a play or movie. Thus we created a storyboard on paper. Sheena then began painting and we worked together until we were ready to photograph the pictures and put them in with the text.
Original storyboard (above) for The Heart of a King
Editing and Layout
Overall, the hardest part of this project was the editing and layout process. I went through at least ten writing drafts. I had friends and family read it. I read and edited it several times. After the editing of the script came the editing of the illustrations. Once the book scenes were photographed, I put them in PhotoShop and digitally remastered them. I brightened some of the photos while making sure the pictures were cropped and sized correctly. Next I began working on the layout of the book. This was fun because I enjoy organizing and layout design. I placed the text and pictures in a Word Document, spending countless hours shaping each page into something that was pleasing to the eyes, yet readable. I converted the file to a PDF and then uploaded it to CreateSpace. Unfortunately, things are usually never right the first time. The book had to be laid out a certain way and line up with the specifications and measurements of CreateSpace. I recreated and uploaded the file more than 12 times. This took anywhere from 8-12 hours each time because it was such a big file and I have slow internet. I’ve never created so many PDF’s in my life!
Finished Product
Keep in mind, this whole self-publishing gig is something I chose to do without any help from CreateSpace’s graphic artists or consultants. Through a lot of frustration and tears, after three printed proofs and hundreds of hours on the computer over the course of a year, we had a finished story. In the end I don’t regret all of the work, because now I can say that we have a published children’s book!
Illustrator, Sheena Kohlmeyer’s Point of View
Planning
When plans were in place for me to become the illustrator of The Heart of a King, I read the story several more times. I researched the process and styles of illustrators such as Harry Bliss (Diary of a Worm). This research showed me that I needed to plan and sketch out the characters and the scenes. Many of the characters are based on actual African animals, and I researched these animals online and in books along with Curtis.
Drawing and Painting
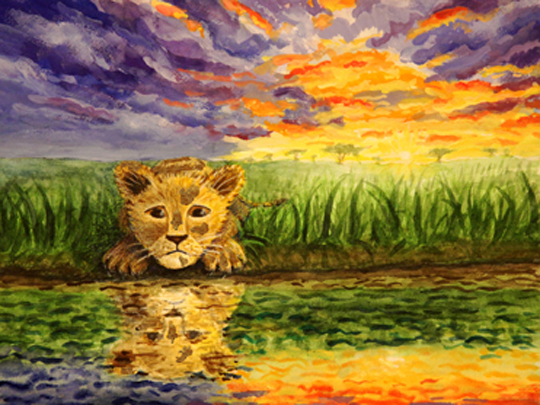
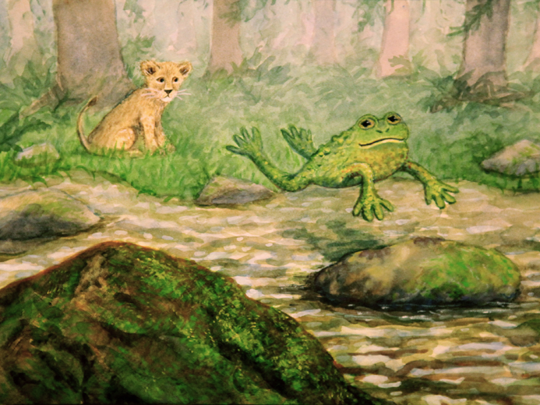
For each illustration, I sketched out the design on large, thin paper. Working on one painting at a time, I then traced my original drawing onto thick watercolor paper. Next, I painted the illustration with watercolor paints. I love the beautiful colors and layers that can be achieved through watercolor. However, I feel that watercolor can be challenging because there is no white and I must let layers dry before adding more or the painting will “turn to mud!” I touched up some of the paintings with gouache (opaque watercolor) and prismacolor colored pencils.
A Helpful Tool for Illustrating
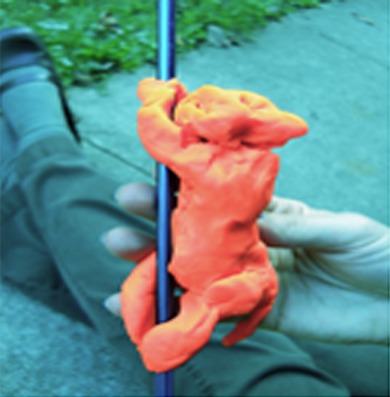
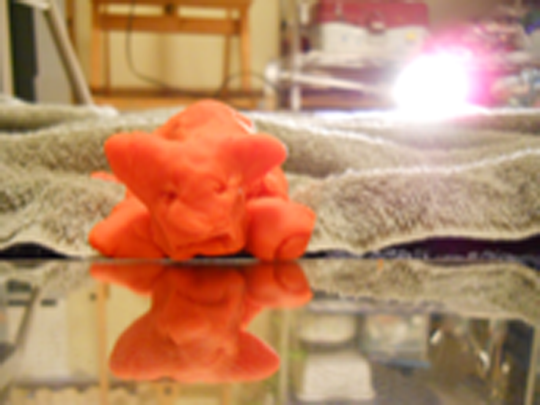
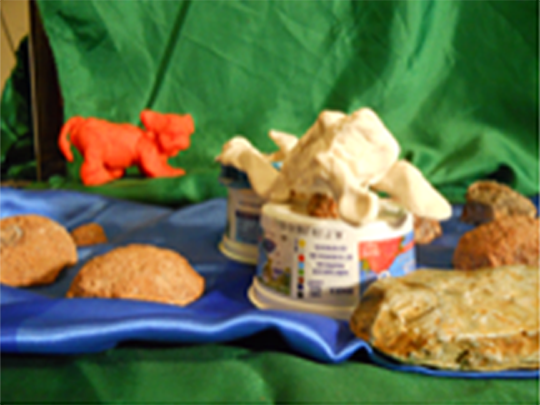
I was not sure how to show light and shadows in some of the scenes. To help me see how to make the scenes look more three-dimensional on a two-dimensional painting surface, I created a Play-Doh model of Leo, the lion. Looking at the model and sketching the model helped me see how Leo should look in certain poses and scenes. I also built a few small sets for the model and photographed these to use for the drawings. Many artists (for example American artist Thomas Hart Benton) have used models to aid in their painting process.
A Published Book
After a photographer friend took photos of the paintings, Curtis worked with the photos in PhotoShop, did the graphic design layout, and took care of all the steps to publishing through CreateSpace. The process of making and publishing a book takes collaboration, research, resources, creativity, imagination, time and patience.But it is all worth it!
Clay Model Sets

